
It's September, which means I can start to pull out my Fall decor. I am not ready for summer to end because I have loved not being on a schedule and having the kids home. With that being said I cannot wait until the weather cools down. Fall is my favorite season because it means I get to wear all my cozy outfits and celebrate fun holidays! It's been a while since I've crafted so I busted out my sewing and Cricut machines to make some fall themed coasters.
What you need:
Fabric - about 5" x 40"
Felt - about 5" x 20"
Scissors
Thread
Rotary cutting mat or measuring tape
Cricut machine (optional)
Cricut iron on vinyl (optional)
What to do:
Check out the video!
I also documented with photos and instructions!

Cut 5" x 10" rectangle of fabric. (I cut 4 of these because that is how many coasters I wanted)
Cut 5" felt squares (the color does not matter as it will not be seen - I cut 4)
Take your 10" by 5" piece of fabric and fold in half right sides together. (That means the right side of the fabric is folded inside)
Place your 5" x 5" felt piece on top.

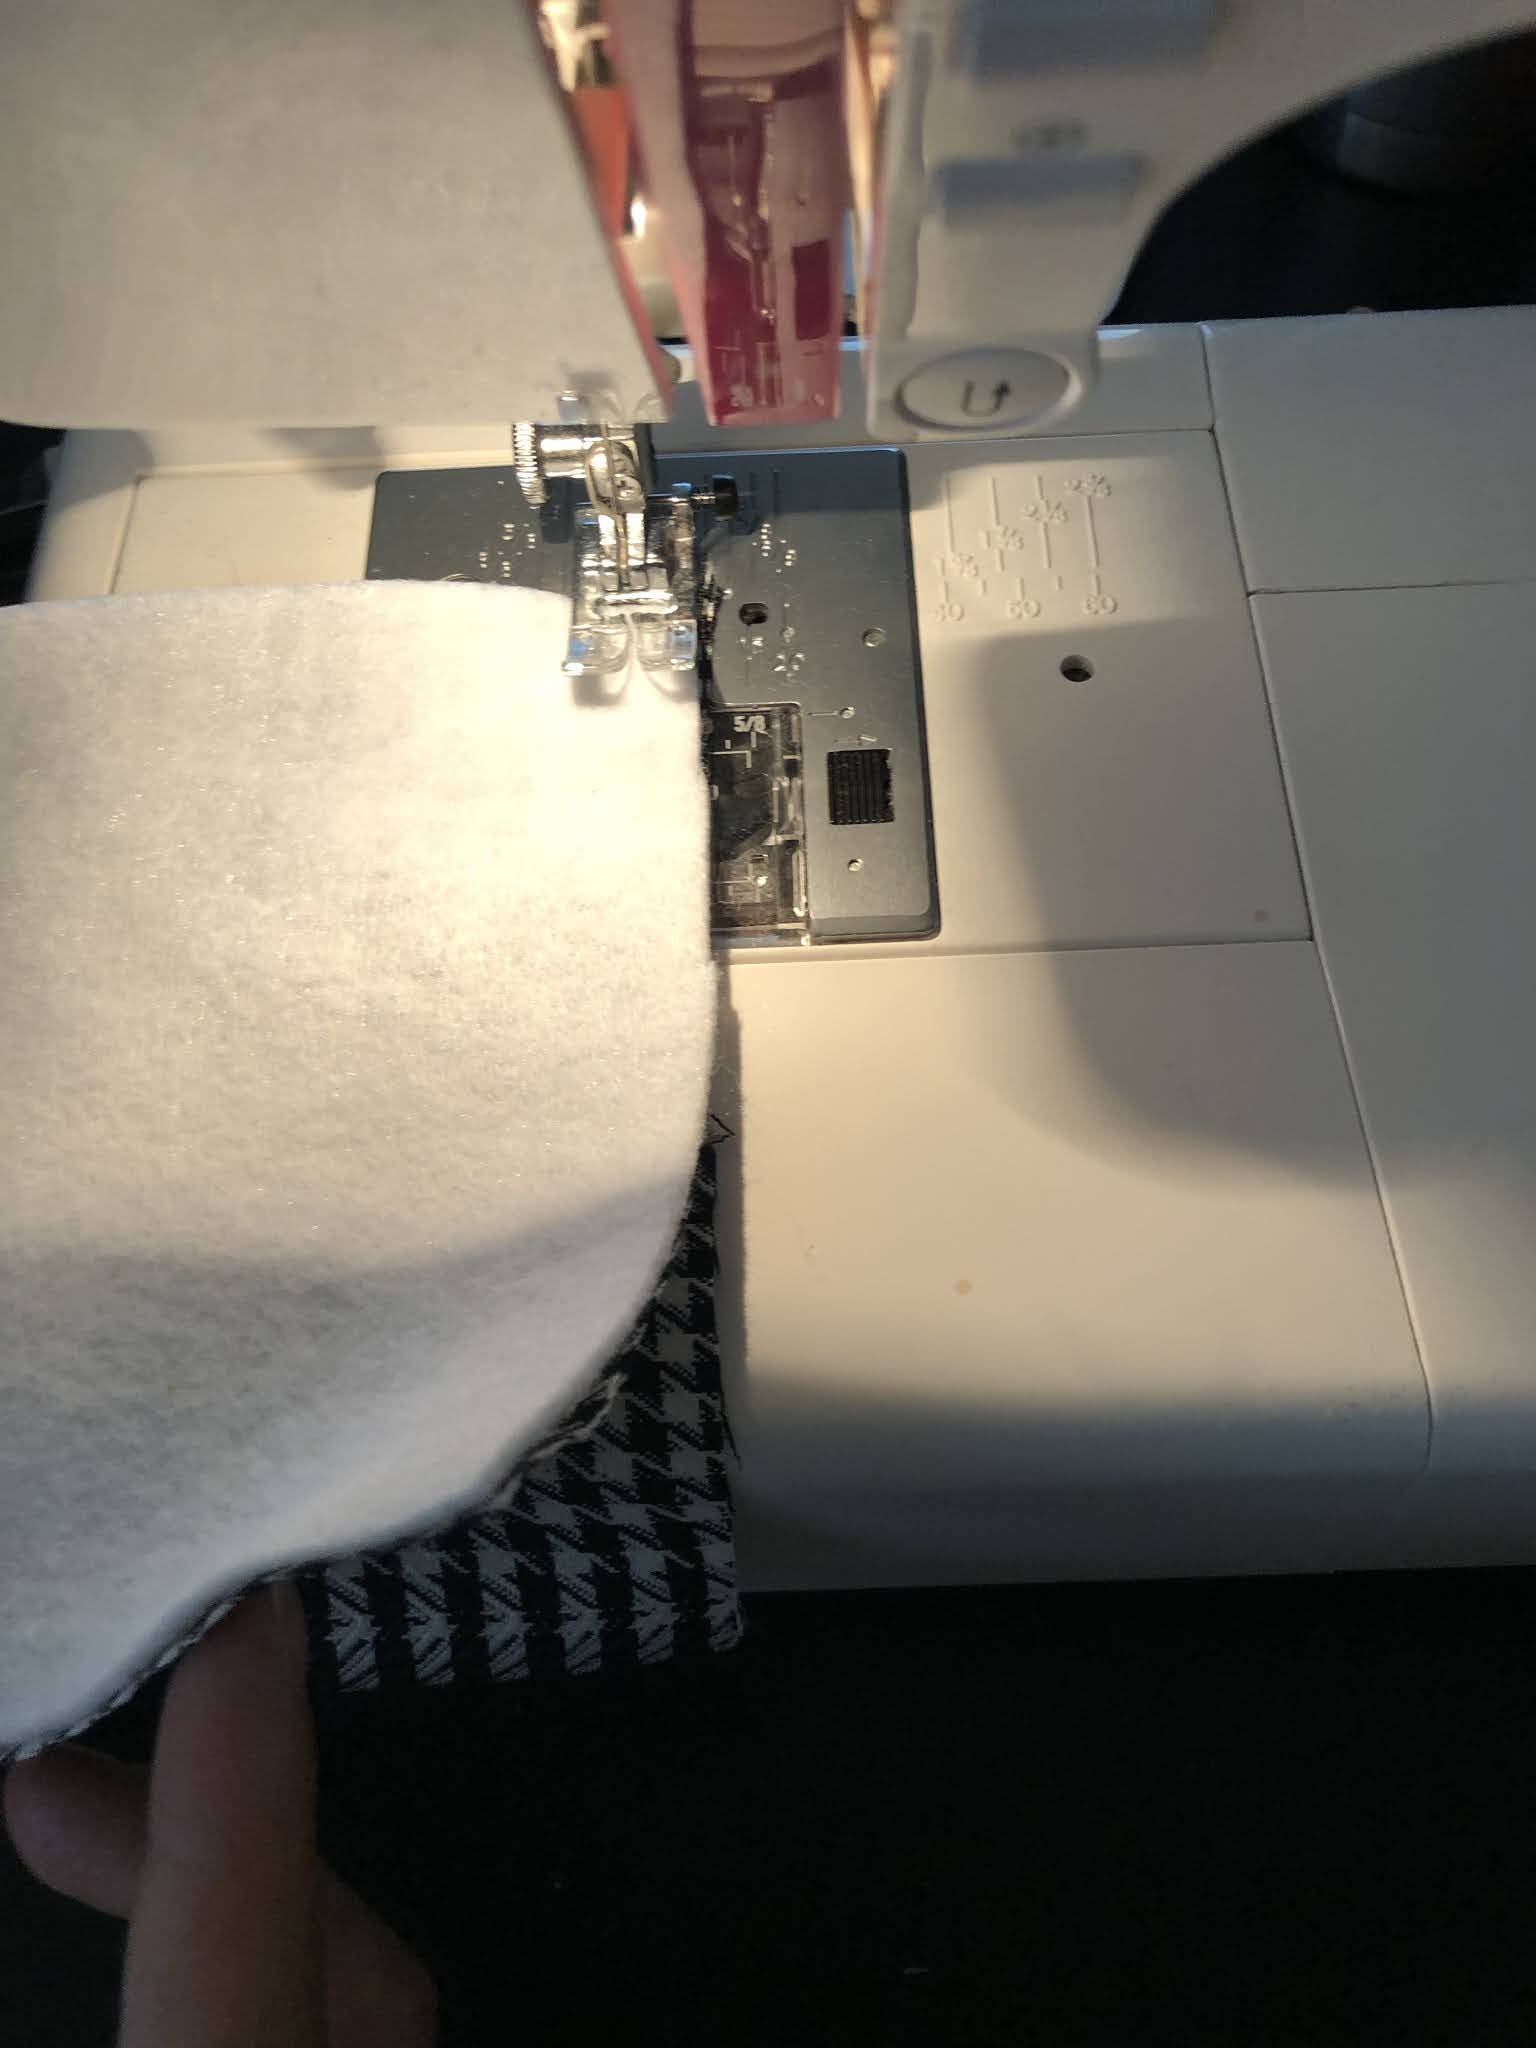
Sew down both sides of your square.

Turn and sew almost to the middle. Stop and leave about a 1" gap and then sew to the end.

Through the gap push through a corner through and pull the fabric right side out.
Trim the corners so when it is right side out it is not too bunchy.
Fold in the fabric between the 1" gap so it is lined up.
Press with an iron so it lays flat nicely.

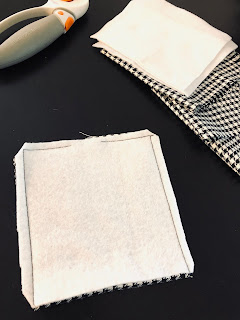
Top stitch all around.
Cricut - I have the Cricut explore air 2.
I used a free pumpkin svg file that I found online and Cricut silver iron on vinyl. I made the image about 4" and used both the outline and cut out pieces to cover the 4 black and white houndstooth coasters. I did not bother clicking mirror image since the pumpkin would turn out either way. Remember to turn the dial to iron on! Separate the cut vinyl and lay on your fabric. I set my iron on low and press for about 20 seconds. If it looks like it isn't secure I did another 10 seconds.


I left the other side blank so we could continue using them year round. After it cooled off I peeled off the plastic cover.

When do you start decorating for fall? Like this project or have you tried it? Leave me a comment below! For some more fun fall DIY ideas head over to these accounts to see what my friends made.
Wow, this looks amazing. You have done them so neatly , love the design.
ReplyDeleteI absolutely love these! I really wanna learn how to sow
ReplyDeleteI absolutely love these! I really wanna learn how to sow.
ReplyDelete